 Last week, I was preparing an introductory presentation for my school staff on Google Drawings. To give them choice in their learning and allow them to learn and find resources that appealed to their needs, I wanted to provide them with time during the class for some guided independent learning, but I wanted to use Google Drawings to teach them about Drawings in such a way that they could then turn around use the same template for a different lesson in their own classes. Here’s what I came up with (click to explore):
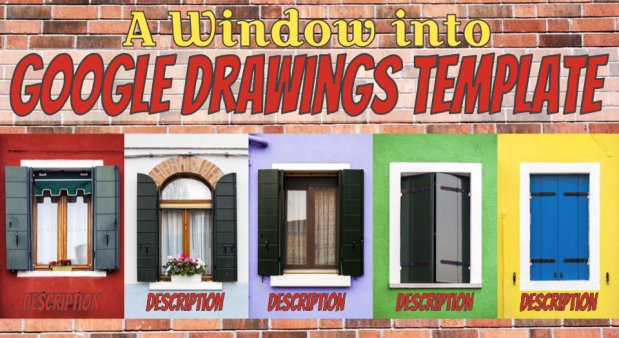
With the template (provided below) teachers or presenters could use the “A Window into…” template to give students independent practice over absolutely any topic. Teachers could embed links for video explanations, games, web resources, and even link to other assignments or other Google Docs. Teachers could give students a time limit and tell them to make sure they explore at least 3 windows or assign all five in a station rotation over the course of a week. The implementation possibilities are limitless.
As I worked on the independent exploration portion of my original Google Drawings presentation for my school staff, I remembered back to a post by Eric Curts at ControlAltAchieve.com where he explains how to set up a Google Drawing like a ThingLink, which Eric terms a GoogLink, using linked icons over a picture.
After selecting the windows as my picture, I couldn’t settle on icons that I liked or where to put them – in, on, or around my windows. That’s when it struck me: I could use a transparent square right over the picture of the window! This revelation allows me to add a link to any part of the picture without having to add an icon!
Once I had all my links in place, I didn’t like how students had to click on the window and then click the link which popped up underneath. I had a hunch and tried viewing the Drawing in “preview” mode by deleting the end of the share link up to the word “edit” and replacing it with the word “preview”

By sharing the “preview” link with the participants of my Google Drawings class, students could simply click on any of the windows to go directly to the link! AND as an ADDED BONUS – in preview mode, students can’t click and drag anything – all they can do is access your predetermined links, but they still have the choice to go in their own order at their own pace.
Here’s a link to grab a copy of the “A Window into…” Template.
Here’s a video tutorial on how to customize the template for your chosen topic (this tutorial video is also included within the template):

This is really great. Thank you for sharing. I’ll pass this along to other teachers in my school and district.
LikeLiked by 1 person
Thank you! I’d love to see how you or they use it! 🙂
LikeLike